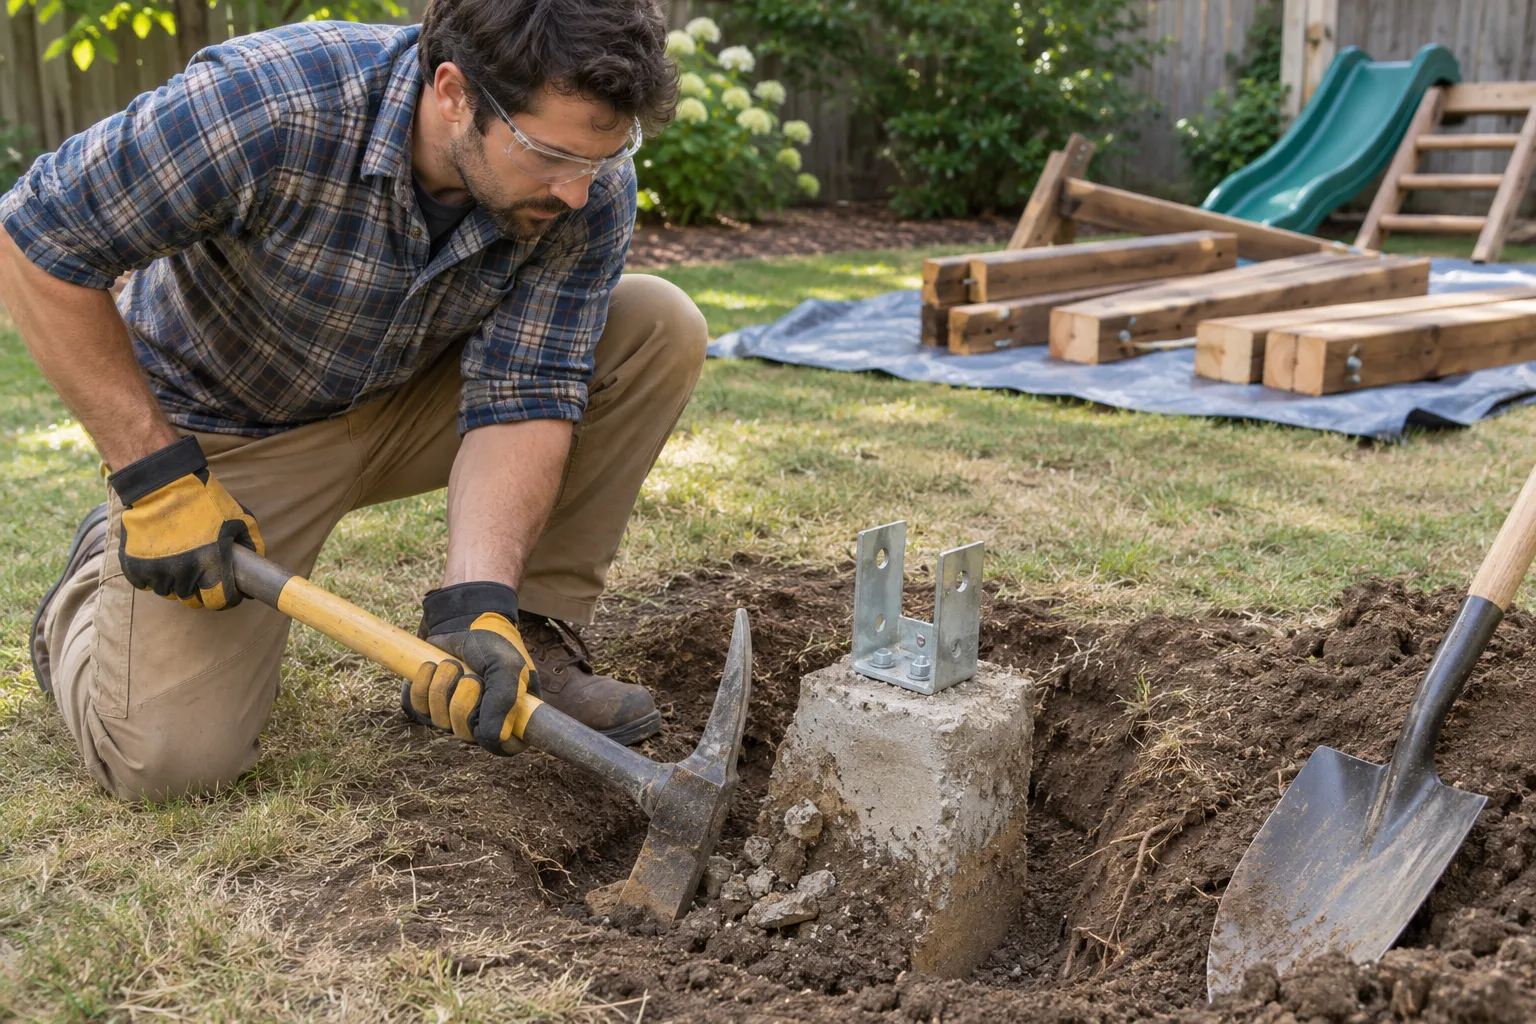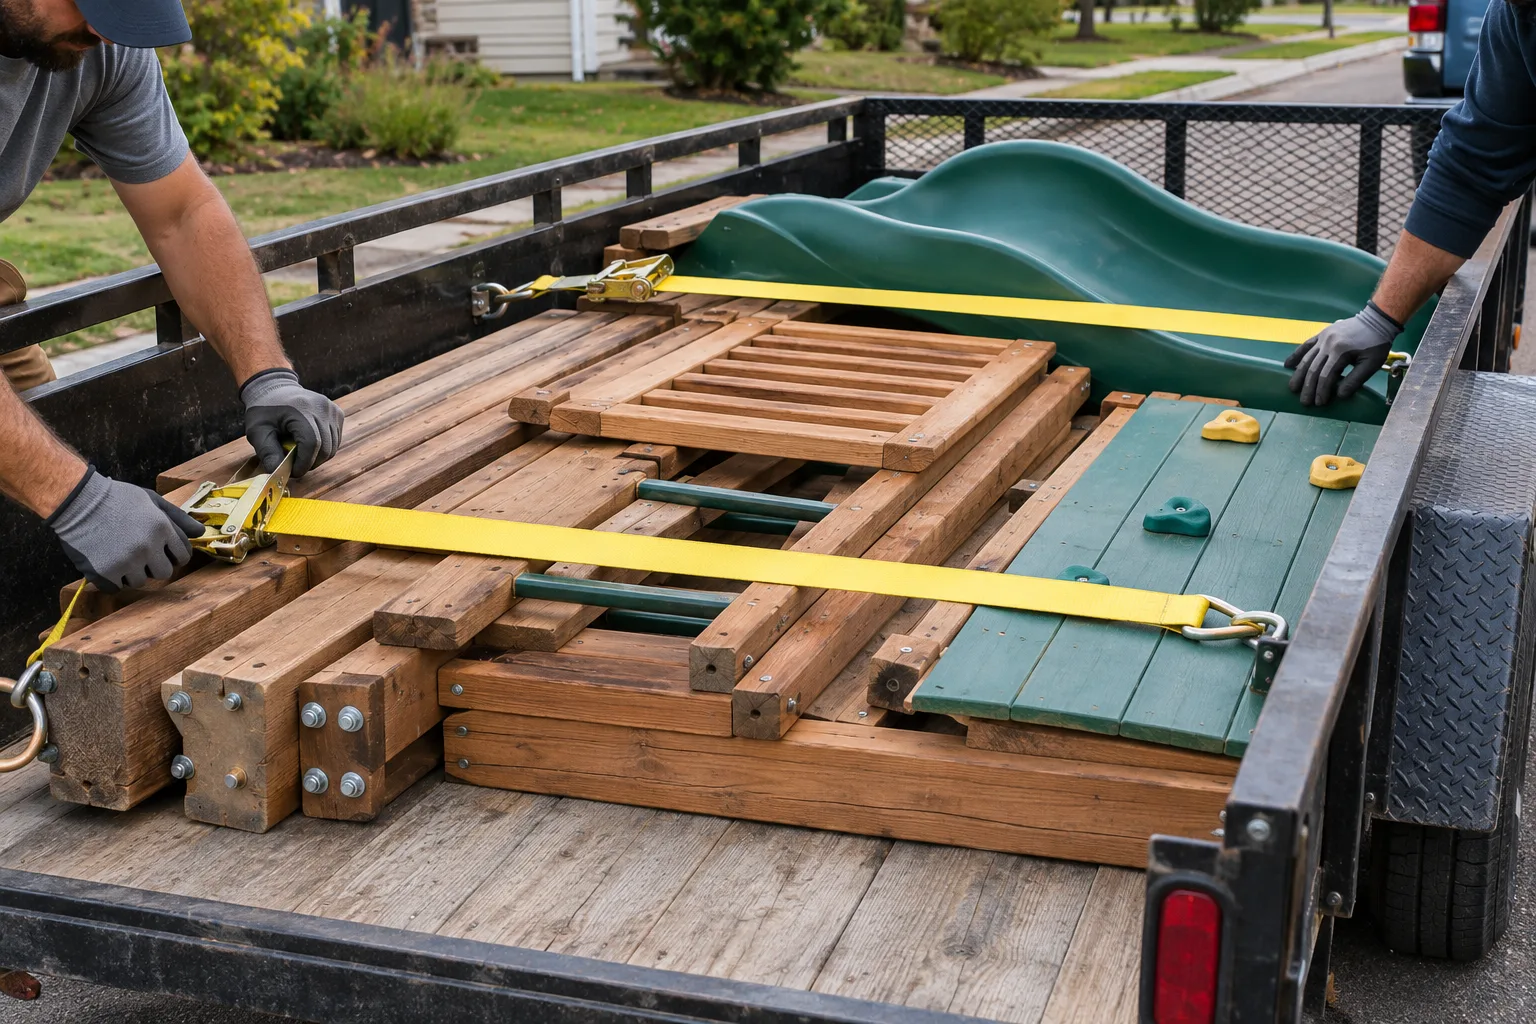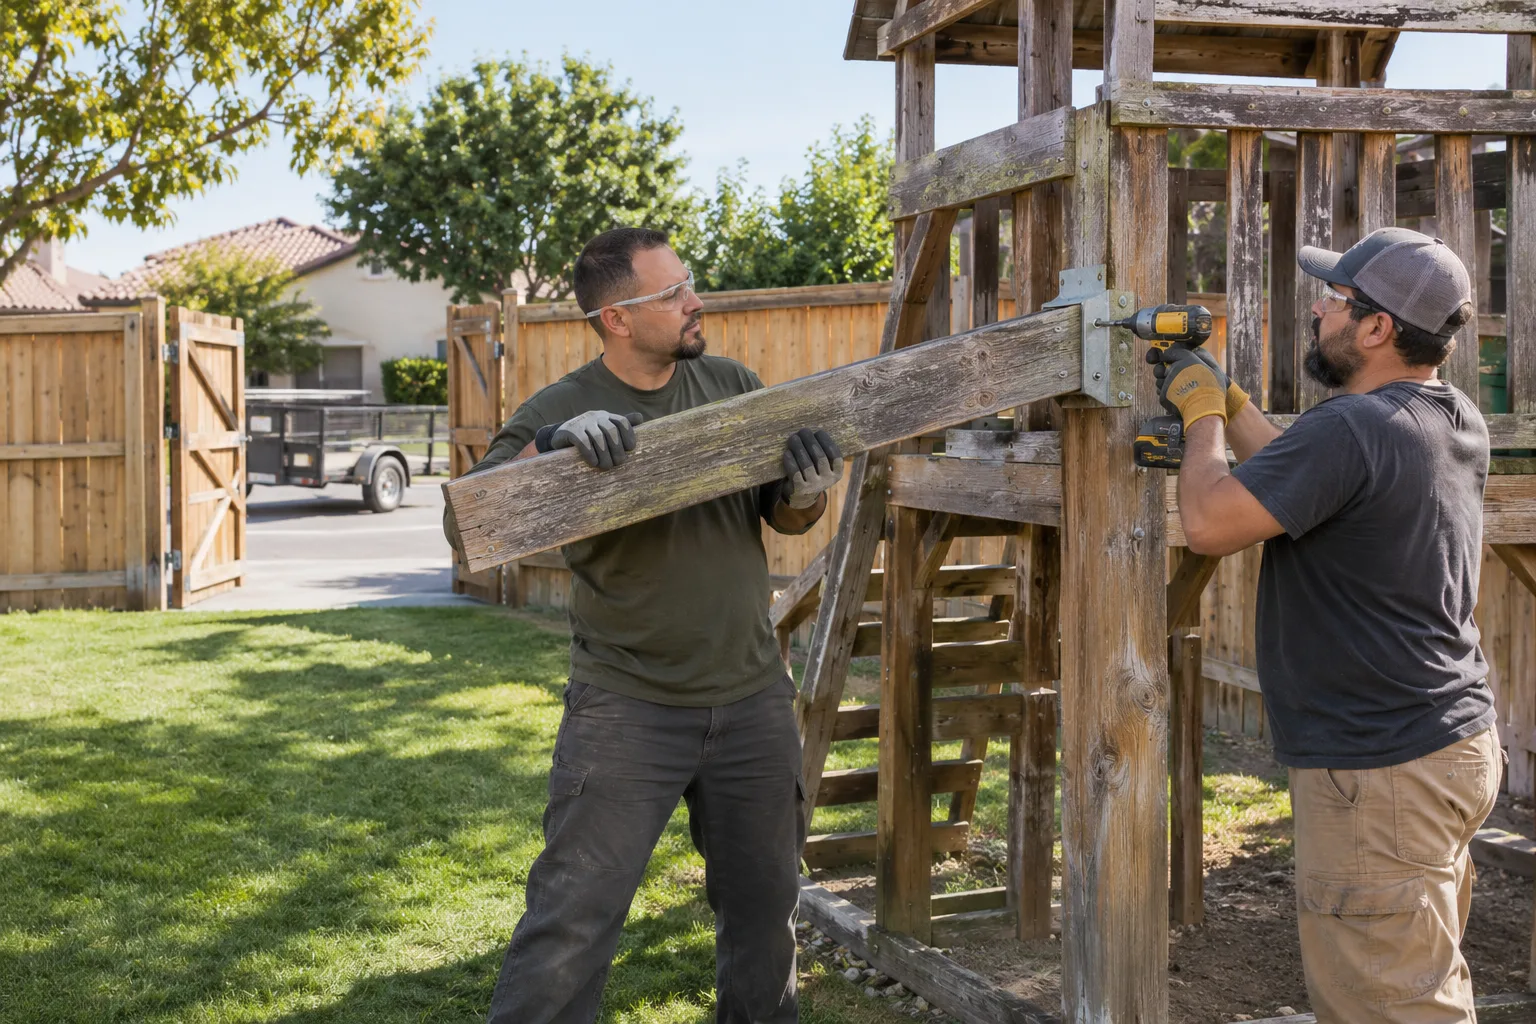
A short, deliberate photo set can show the structure, anchors, access, and loading point without a long video.
Begin with one wide view
Stand far enough back to show the entire playset and its relationship to fences, trees, sheds, pools, patios, and the house. This establishes scale better than a close shot of one beam.
Walk around the structure
Photograph the front, back, and both ends. Include the base of the posts, attached swing bays, slides, ladders, roofs, and add-on sections.
Follow the exit route
Take one image at the narrowest gate, one at the tightest turn, and one from the gate toward the loading point. A provider needs the fixed restrictions, not only the open lawn.
Add measurements in the message
Photos help, but gate width, longest beam, tower height, steps, and carry distance still need numbers. Keep the tape measure visible only when it does not obscure the feature.
Checklist
- Whole structure in one frame
- All four sides
- Post bases and anchors
- Narrowest gate with width
- Tightest turn
- Ground and grade
- Legal loading point
Use the facts in the estimate
Send a short item list, the measurements that limit the route, and photographs in route order. Confirm accepted material, anchors, retained parts, cleanup boundary, timing, and final terms directly. A photo review supports planning; it does not confirm an appointment.
Next, review playset removal, compare the dismantling and demolition decision, or prepare an estimate call.